



How to propagate areca palm
Dypsis lutescens
A practical guide to making more areca palm at home: the right method, the right time of year, and what to expect.
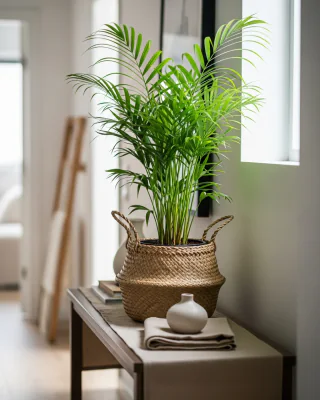
 Not sure it’s this plant?Check yours with a photo, free
Pet-safe
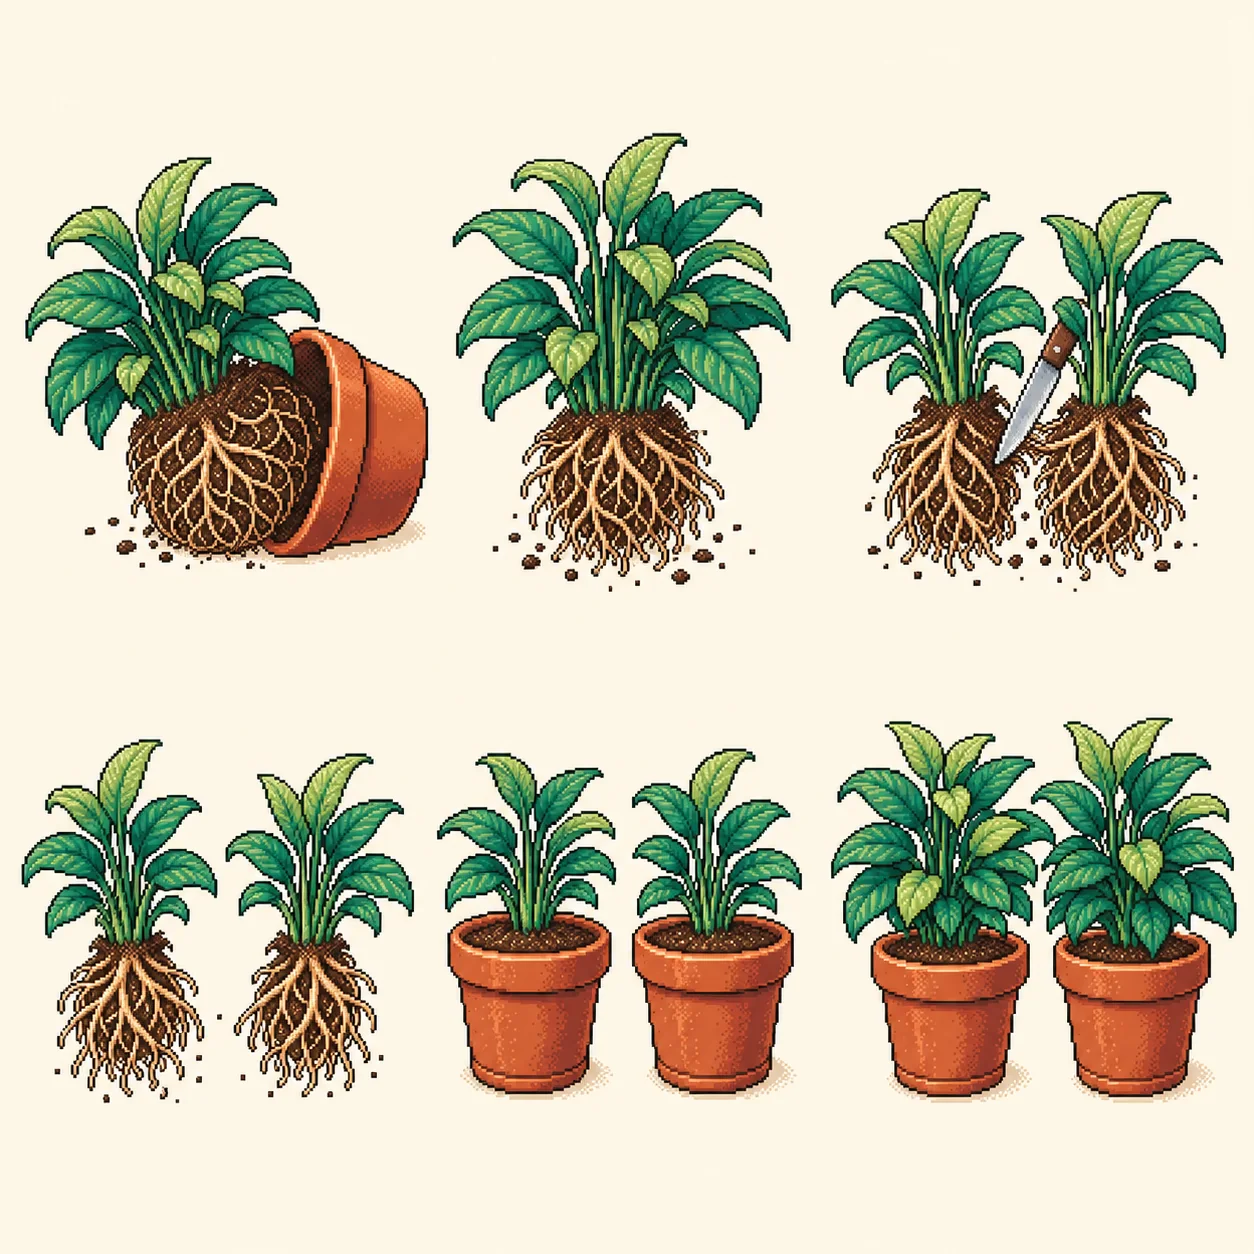
How to propagate by division
Division multiplies areca palm by splitting the root ball in spring, so each section has its own roots and shoots. The new plants settle in quickly because they already have a mature root system.
- 01
Water the plant thoroughly the day before dividing: well-hydrated roots are more resilient.
- 02
Slide the plant gently out of its pot. If it’s stuck, run a knife around the inside edge.
- 03
Shake off the loose potting mix to expose the root system. For clumping plants, you’ll see distinct crowns or growing points.
- 04
Tease the clumps apart by hand where possible. For tightly bound roots, use a clean sharp knife or pruning shears. Each section needs at least one healthy shoot and a decent portion of roots.
- 05
Pot each division into fresh, well-draining potting mix at the same depth it was growing before.
- 06
Water gently, then keep the divisions out of strong direct sun for 1–2 weeks while they settle. Skip fertilizer for the first month.
- 07
New growth is the sign that the plant has adjusted. After 4–6 weeks, resume normal care.
All areca palm guides
Keep reading
Related plants
Common questions
What is the best way to propagate areca palm?
The most reliable method for areca palm (Dypsis lutescens) is division. It can be challenging: patience and the right conditions matter.
When should I propagate areca palm?
The best time is spring, when the plant is actively growing and roots form most quickly.
How long does it take areca palm to root?
There is no rooting stage: each division or offset already has its own roots. Fresh new growth is the sign that it has settled.
Propagation guidance is based on genus-level horticultural knowledge. Individual specimens can vary.
7 steps · 4–6 weeks · Last reviewed: