



How to propagate florist’s chrysanthemum
Chrysanthemum morifolium
Florist’s chrysanthemum propagates best from stem cuttings in spring or summer. Cuttings usually root in 2–3 weeks.
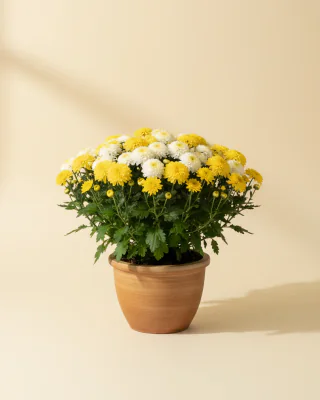
 Not sure it’s this plant?Check yours with a photo, free
Toxic to pets
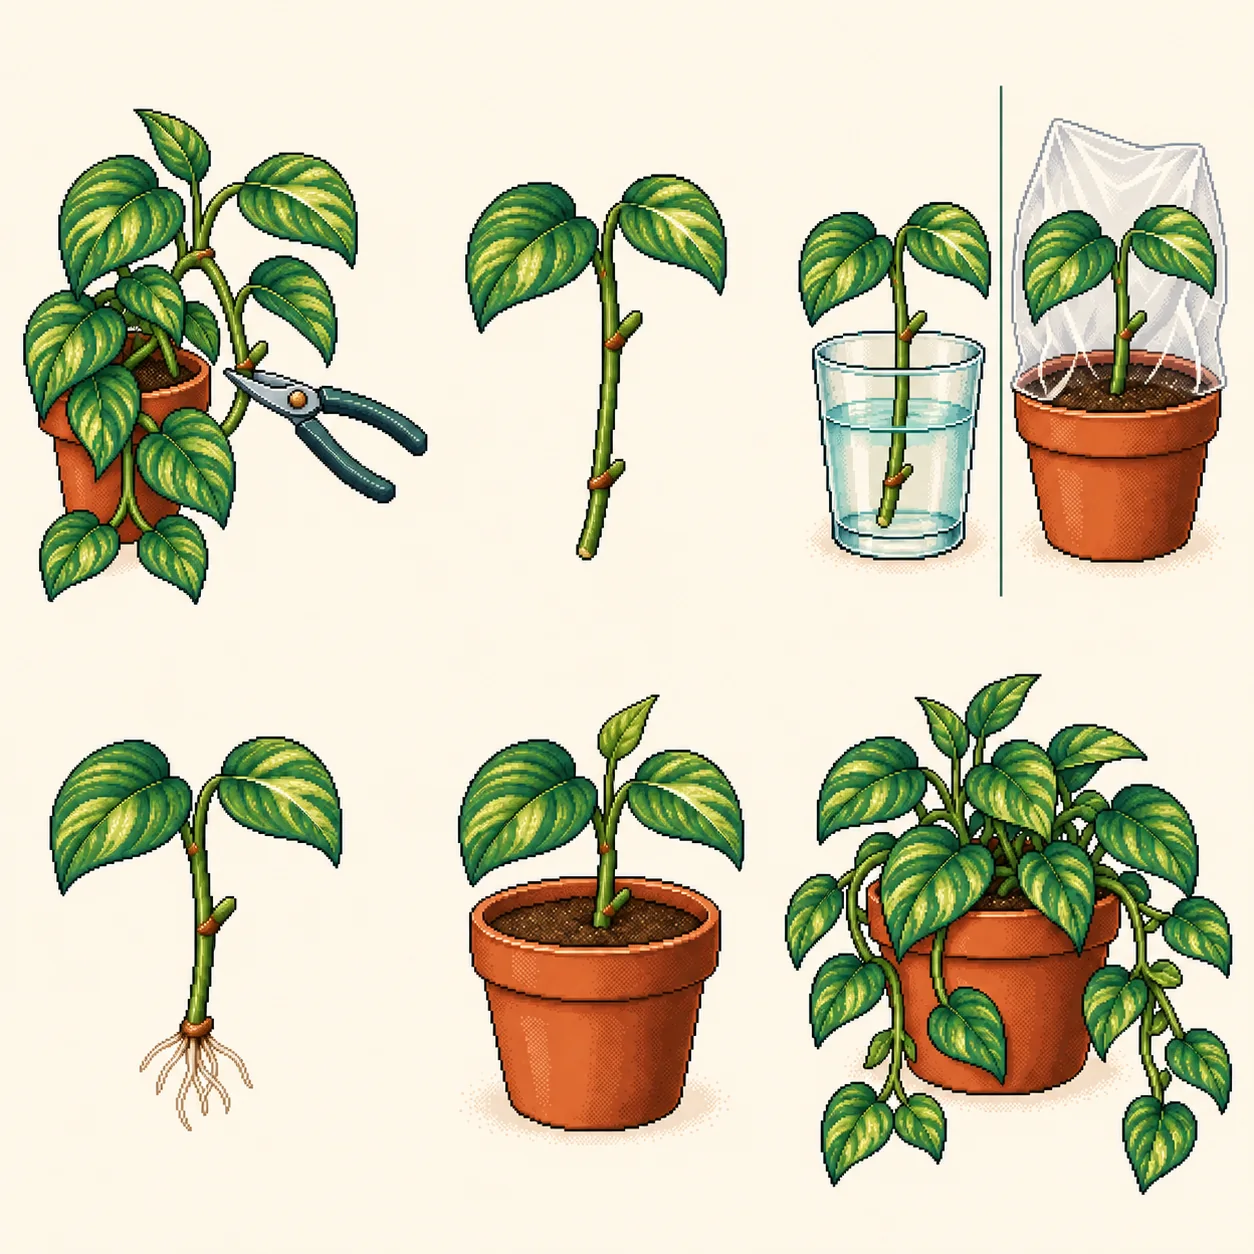
How to propagate by stem cuttings
Stem cuttings are a reliable way to propagate florist’s chrysanthemum. Each cutting contains a node (the small bump or joint where a leaf attaches), and that node is where new roots will grow.
Wear gloves before cutting or dividing. Sap or foliage can irritate skin. Avoid contact with eyes and mouth, and wash your hands after handling. Keep cut pieces out of reach of children and pets.
- 01
Choose a healthy stem with at least one node and one or two leaves. In spring or early summer the plant is growing actively, so cuttings root fastest.
- 02
Cut just below a node using clean, sharp scissors or a knife. A cutting of 10–15 cm (4–6 in) with one or two leaves is ideal.
- 03
Remove any leaves from the bottom 5 cm (2 in) so they don’t rot in water or soil.
- 04
Choose one
Water method Place the cut end in a glass of room-temperature water, keeping the leaves out of the water. Change the water every three days. Move to soil once roots are 2–3 cm (0.8–1.2 in) long.
Soil method Dip the cut end in rooting powder (optional), then push it 3–4 cm (1.2–1.6 in) into damp potting mix. Cover loosely with a clear bag to keep humidity high.
- 05
Keep the cutting in bright, indirect light and warmth (above 18 °C / 64 °F). Avoid direct sun, which wilts the cutting before roots form.
- 06
Usually roots in 2–3 weeks. New leaves alone do not prove that roots have formed. Check for visible roots or gentle resistance in the mix without pulling the cutting out. Once rooted, gradually increase ventilation and remove any cover over about two weeks before moving to normal care.
Division
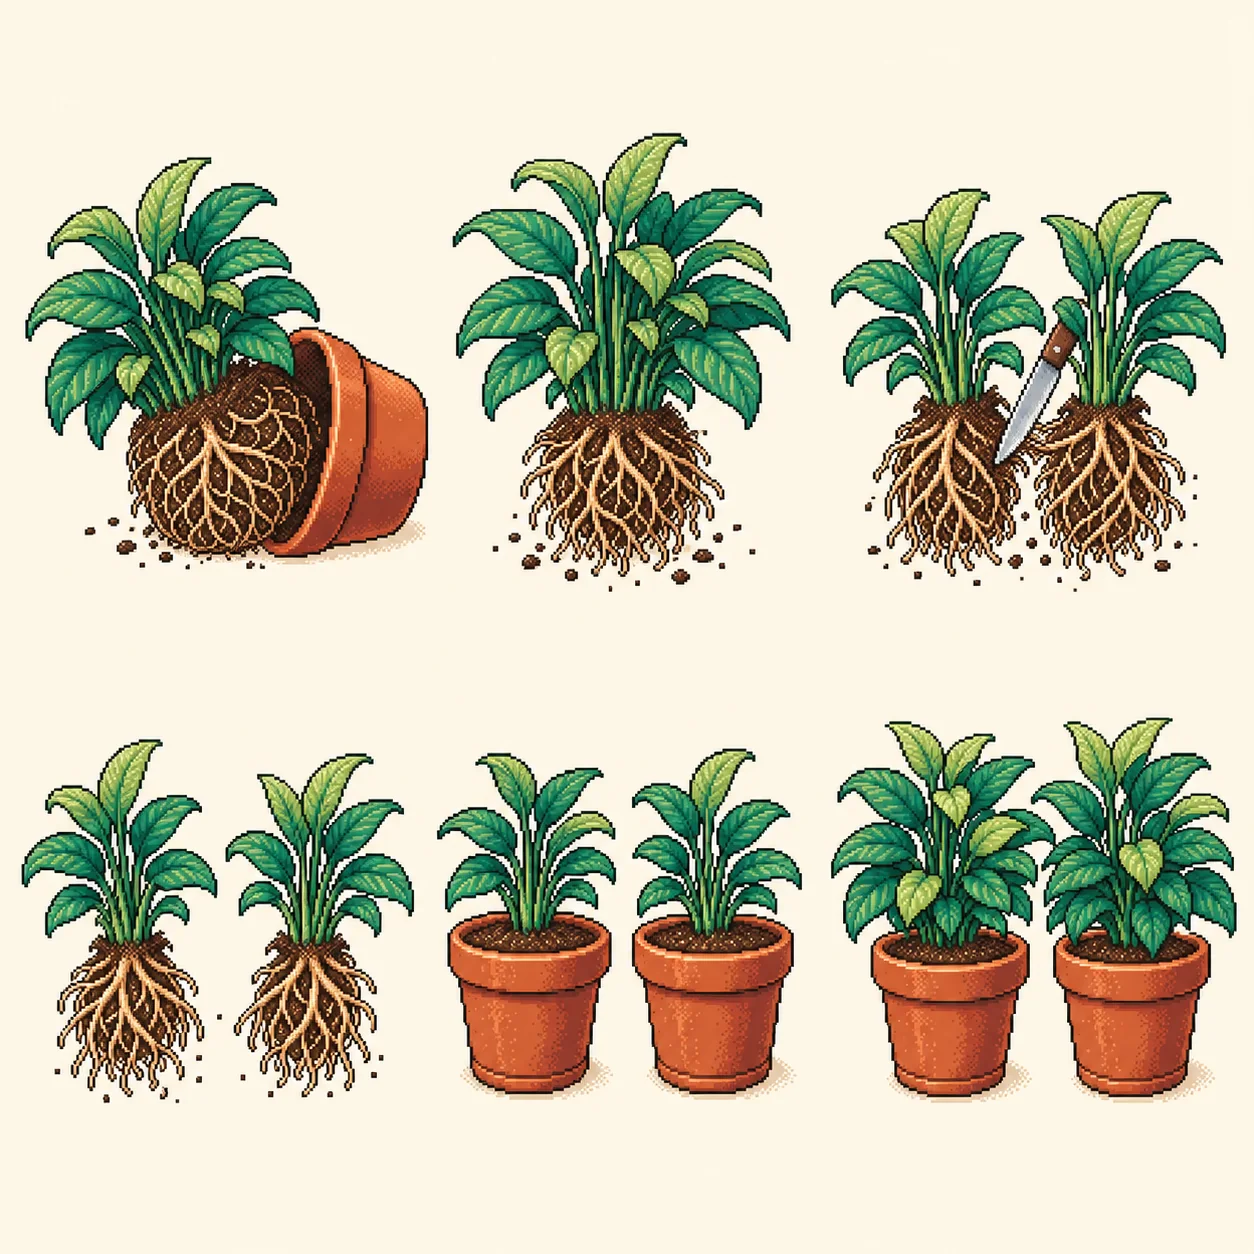
Division multiplies florist’s chrysanthemum by splitting the root ball in spring, so each section has its own roots and shoots. The new plants settle in quickly because they already have a mature root system.
- 01
Water the plant thoroughly the day before dividing: well-hydrated roots are more resilient.
- 02
Slide the plant gently out of its pot. If it’s stuck, run a knife around the inside edge.
- 03
Shake off the loose potting mix to expose the root system. For clumping plants, you’ll see distinct crowns or growing points.
- 04
Tease the clumps apart by hand where possible. For tightly bound roots, use a clean sharp knife or pruning shears. Each section needs at least one healthy shoot and a decent portion of roots.
- 05
Pot each division into fresh, well-draining potting mix at the same depth it was growing before.
- 06
Water gently, then keep the divisions out of strong direct sun for 1–2 weeks while they settle. Skip fertilizer for the first month.
- 07
New growth is the sign that the plant has adjusted. After 4–6 weeks, resume normal care.
All florist’s chrysanthemum guides
Keep reading
Related plants
Common questions
What is the best way to propagate florist’s chrysanthemum?
The most reliable method for florist’s chrysanthemum (Chrysanthemum morifolium) is stem cuttings. It’s an easy process that beginners can handle well.
When should I propagate florist’s chrysanthemum?
The best time is spring to summer, when the plant is actively growing and roots form most quickly.
How long does it take florist’s chrysanthemum to root?
Expect roots to appear within roughly 2–3 weeks, given warm temperatures and good indirect light.
Propagation guidance is based on genus-level horticultural knowledge. Individual specimens can vary.
6 steps · 2–3 weeks · Last reviewed: